File Systems
Now that we have accounts that can login and are given a role, we need to start to create File Systems so we can use them with protocols for access to Applications.
Goals for this module
In this module we will discuss the following items:
- File Groups
- File Systems
- Use File System
File Groups
To be able to create a File System we need to have at least one File Group. A File Group is used specifically to manage tiering policies for filesystems. It defines key parameters, including the drive retention period and the tiering queue time, which determine how and when data is tiered.
When you add a filesystem, it must be associated with a filesystem group to apply these tiering behaviors. The WEKA system supports up to eight filesystem groups, allowing flexibility in managing tiering policies across different filesystems.
Note
More detailed information for this Module can be found at WEKA Docs
Your cluster as a File Group and Filesystem called "Default", we have to remove both to create our own. Delete the Filesystem default first by clicking the three dots to the far right of the default filesystem and select Remove. Then type default to remove the Filesystem. Hoover over the default FileGroup and click the metal bin icon and click Yes.
Create a File Group (UI)
-
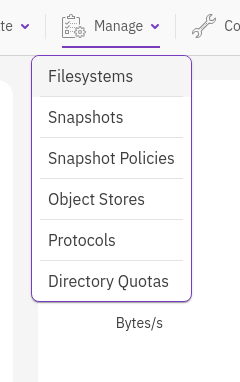
Login to your Cluster, if you have been logged out, and navigate to Manage > Filesystems
-
Click the + icon right to the Filesystem Groups on the LEFT hand side of your screen

-
Use the following parameters for the creation of the File Group:
- Name: fg_ui
- Leave all other parameters default
Explanation off the other two options
Drive Retention Period: Set the period for keeping data on the SSD after it is copied to the object store. After this period, the copy of the data is deleted from the SSD.
Tiering Cue: Set the time to wait after the last update before the data is copied from the SSD and sent to the object store.
More details can be found at WEKA Docs
-
Now that we have created a File Group it shows up in the UI

-
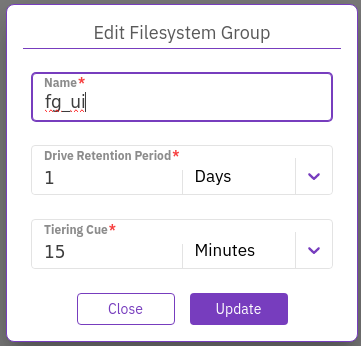
When you hoover over fg_ui you will see two icons. A metal bin and a pencil icon.
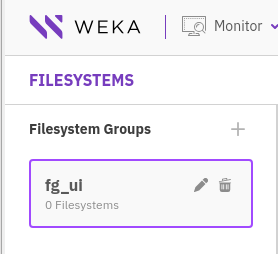
-
Clicking the Pencil,settings, including name of the File Group, can be changed. The Metal Bin is the universal icon for deleting the File Group. A File Group can only be deleted if No File System is associated.
Tip
If more detailed information is needed or wanted, please use this webpage at WEKA Docs
Create a File Group (CLI)
Now that we know how to create a File Group using the UI, let's switch to the CLI version.
If you are logged out of your SSH or WEKA session follow the below process:
- If your SSH session is not open, or you have been logged out, log back in to your Cluster using
ssh -i .ssh/paas paas@<IP_ADDRESS_OF_YOUR_CLUSTER> - Type
weka statusto check if you are logged out of your weka cluster CLI. If you are, useweka user loginand use the test-admin account to login - Proceed to the next steps
-
Type the following command to create a File Group
weka fs group create fg_cli --target-ssd-retention=1d --start-demote=15m
The command will have replied with the logical File Group number. In your case the number should be 1 as the counting starts at 0 and we already have a File Groups created.
-
Your created File Group fg_cli, should be showing up in the background in the UI
Tip
More detailed information on the used command and other options of weka fs group can be found at WEKA DOCS
Now that we have the File Groups, we are going to create respective Filesystems and associate the one we create using the UI with fg_ui and the Filesystem we created with the CLI with fg_cli
Filesystems
A WEKA filesystem operates much like a conventional on-disk filesystem but distributes the data across all servers in the cluster. Unlike traditional filesystems, it is not tied to any specific physical object within the WEKA system and serves as a root directory with space limitations.
Create a Filesystem (UI)
-
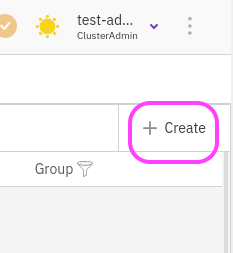
Switch back to the Chromium browser and click on the right side of the screen + Create
-
Use the following parameters for the creation of the Filesystem
- Name: fs_ui
- Group: fg_ui
- Tiering: Off*1
-
Thin Provision: On
Min SSD: 1.1 GB(default) Max SSD: 10GB
-
Data Reduction: Off (you cannot change as we have no Dedupe license*2)
- Encryption: Off (you cannot change as we have no KMS server*3)
- Require Authentication: Off *4
-
Click Save
-
You should now see the created Filesystem and some visual notifications of its properties

-
In the Status column, it shows the green tick. This means the Filesystem is active and ready to be used. TP in the blue circle means that the Filesystem is using Thinprovisioning. Also the used storage can is shown on SSD and in total.
Now that we have our UI created Filesystem, next is to create another Filesystem with the same properties, but now in the fg_cli File Group.
Create a Filesystem (CLI)
- Switch to the SSH session
-
Type the following command to have a new Filesystem created in the fg_cli File Group
weka fs create fs_cli fg_cli 10GB --thin-provision-min-ssd 1.1GB --thin-provision-max-ssd 10GBWhich will return the ID of th Filesystem

-
Now that you ran the command fs_cli will appear in the UI with the same settings as fs_ui. the green tick and the TP icon should be shown. Also the size should be the same.

Note
To see all possible parameters for weka fs, please follow WEKA Docs
Create .config_fs
Now that we know how to create a Filesystem using UI and CLI, create a new Filesystem called .config_fs with a size of 10GB, with default settings in the fg_ui File Group. How you create it is up to you.

Note
We need to have this filesystems as it will be used in later modules where we need to have a Filesystem for the cluster to store configuration settings for the protocol. More details are given at WEKA Docs
The Article talks about a size of 100-122GB, but as we have very limited space and we will not have more backend servers and CANNOT run multiple protocols at the same time (due to shear size of the cluster), we will use a limited size of 5 GB. In production use the mentioned 100-122 GB size.
Use Filesystem
There are two modes available for mounting a filesystem in a cluster server:
- Persistent mount mode (stateful): This mode involves configuring a client to join the cluster before running the mount command.
- Stateless mount mode: This mode simplifies and improves client management by eliminating the need for the Adding Clients process.
Important remark
If you have been given access to a one node cluster, called TinyWeka, the following steps are not going to be 100% successful due to the limitations of this type of cluster. This limitation is not there when using a normal cluster.
Mount a Filesystem - Client (Persistent)
Danger
This is just a theoretical part. You don't have to do anything!!
To mount a WEKA filesystem persistently, follow these steps:
- Install the WEKA client: Ensure the WEKA client is installed, configured, and connected to your WEKA cluster. See Add clients to an on-premises WEKA cluster.
- Identify the filesystem: Determine the name of the filesystem you want to mount. For this example, we use a filesystem named demo.
-
Create a mount point: SSH into one of your client and create a directory to serve as the mount point for the filesystem:
mkdir -p /mnt/weka/demo -
Mount the filesystem: As the root user, run the following command to mount the filesystem:
mount -t wekafs demo /mnt/weka/demo
General command structure: The general syntax for mounting a WEKA filesystem is:
mount -t wekafs [-o option[,option]...] <fs-name> <mount-point>
Replace
Mount a Filesystem - Client (Stateless)
We will be using the Client-## machine to install and try to mount a Filesystem.
- Switch to the SSH session, logout of the Cluster node and use
ssh -i .ssh/paas paas@<IP_ADDRESS_OF_YOUR_CLIENT>to connect to your client machine - To make sure the prerequirements are installed, run
sudo apt update && sudo apt install -y xfsprogs -
Run the following command
curl -k https://<IP_ADDRESS_OF YOUR_CLUSTER>:14000/dist/v1/install | sudo shto download and install the needed client software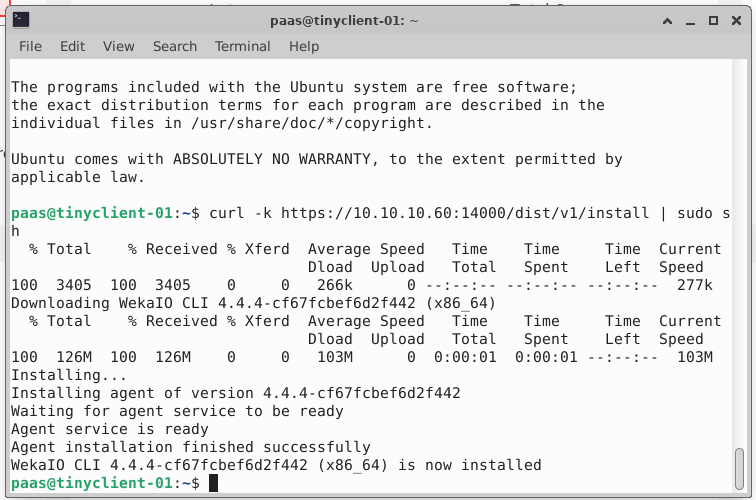
-
Now that the software is downloaded, we want to mount the fs_ui Filesystem. Run the following command to start the installation and mounting of the Filesystem. When you have started the mount command, wait about 30 seconds and proceed to the next step!
sudo mkdir /mnt/wekafs
sudo mount -t wekafs -o net=udp,remove_after_secs=60 <IP_ADDRESS_CLUSTER>/fs_ui /mnt/wekafs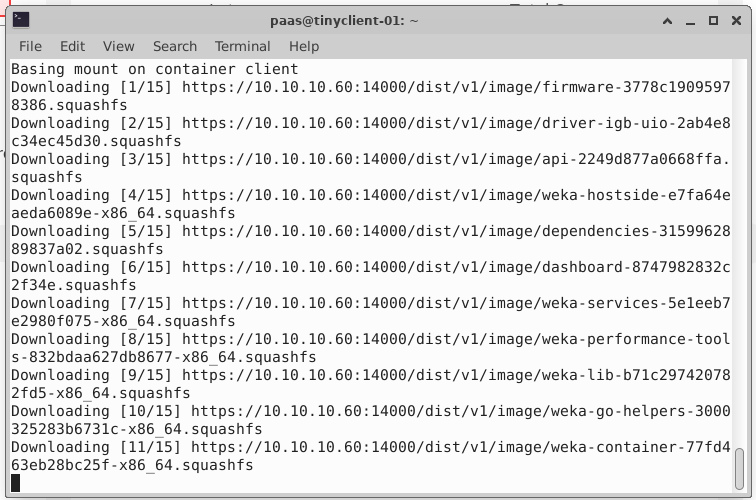
Remark
All information on the parameters can be found at WEKA Docs.
-
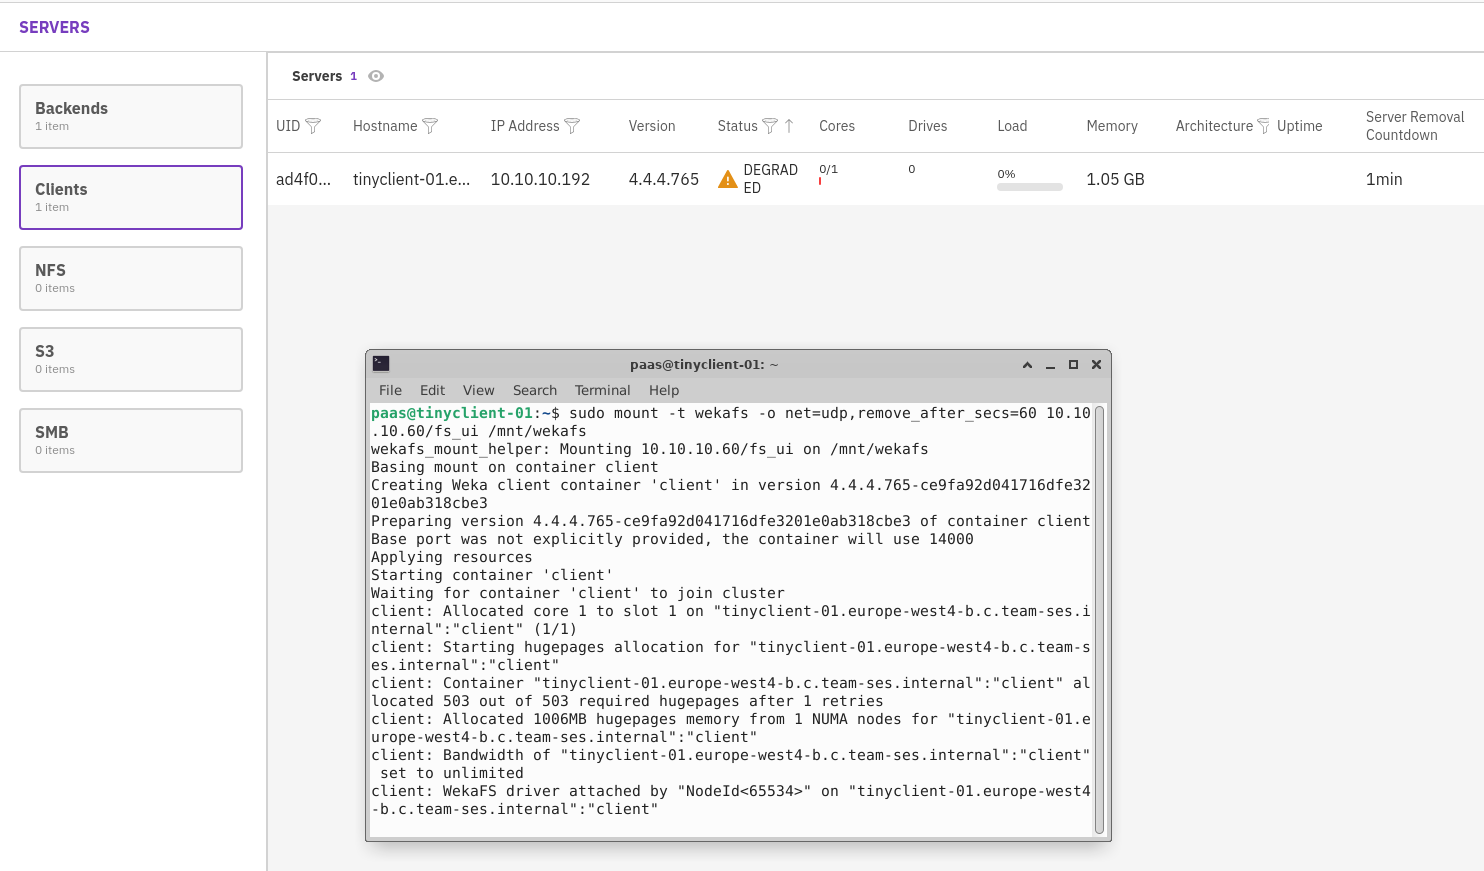
Switch to the browser, navigate to Configure > Cluster Servers and click the Clients Tab. During the installation and mount process the client will be shown
-
Bring your SSH session back to the foreground to see the progress
Documentation
All POSIX related documentation can be found at WEKA Docs
-
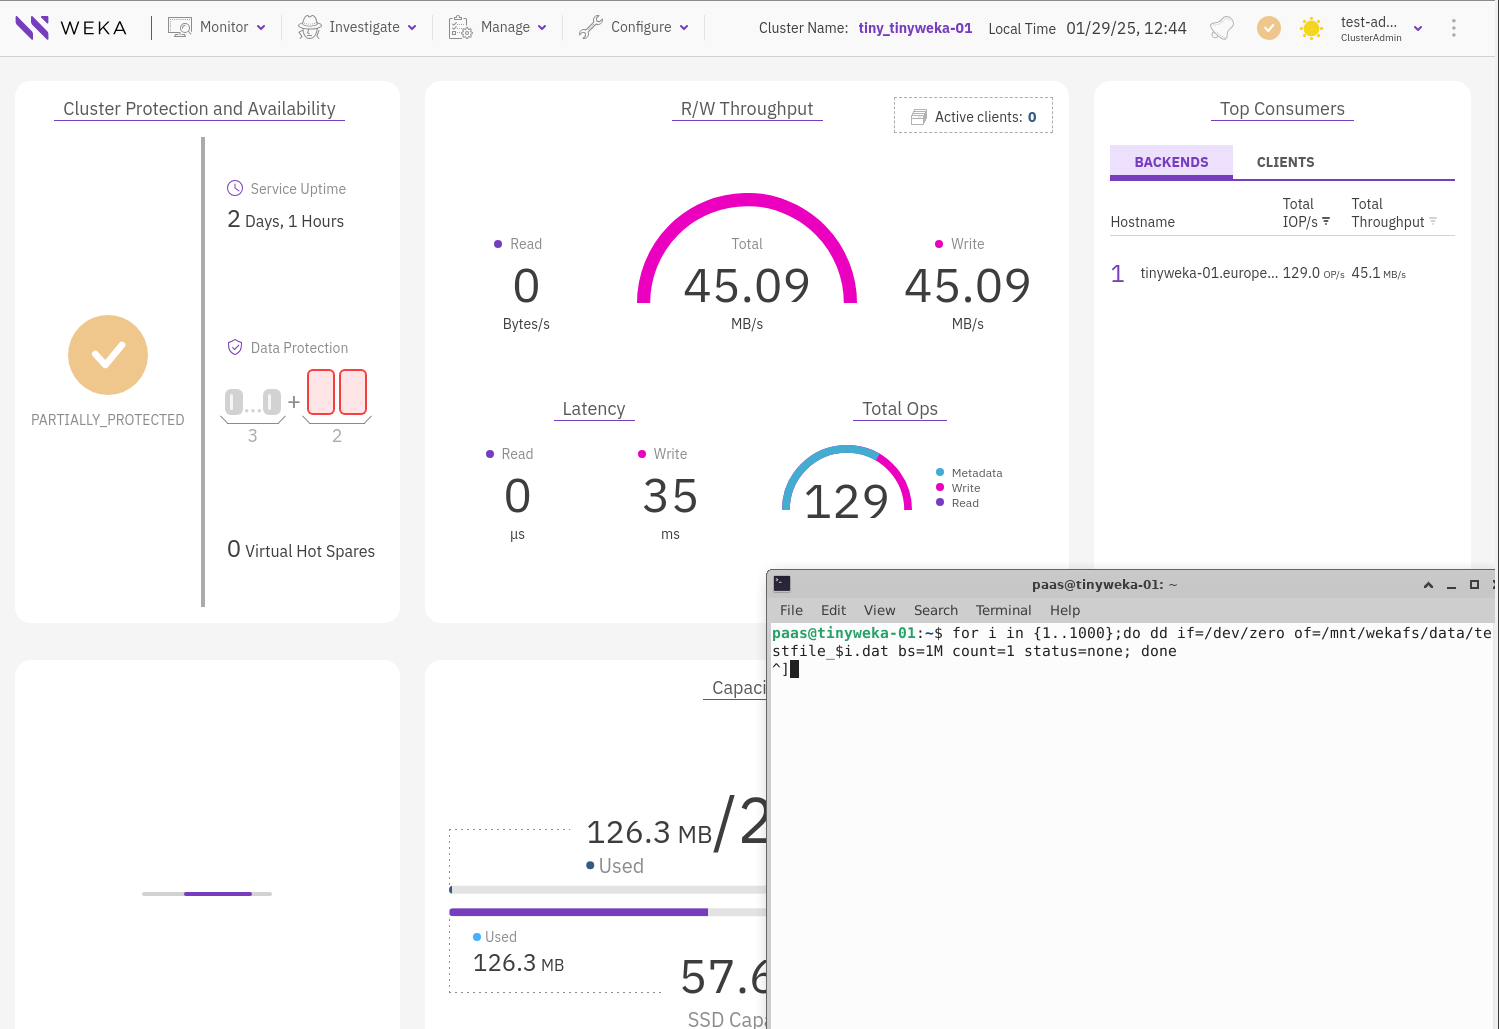
Run the following commands in the ssh session to create 1000 1MB files:
sudo mkdir /mnt/wekafs/data
sudo chmod 777 /mnt/wekafs/data
for i in {1..1000};do dd if=/dev/zero of=/mnt/wekafs/data/testfile_$i.dat bs=1M count=1 status=none; done
Note
While the for;do...done process has started, switch to the dashboard in your browser (click the WEKA logo in the top left corner) so you can see what this is generating with respect to IOPS, etc.
-
Running the command
ls -al /mnt/wekafs/datayou should see 1000 file (yes last filename is testfile_999.dat) of, 1048675 Bytes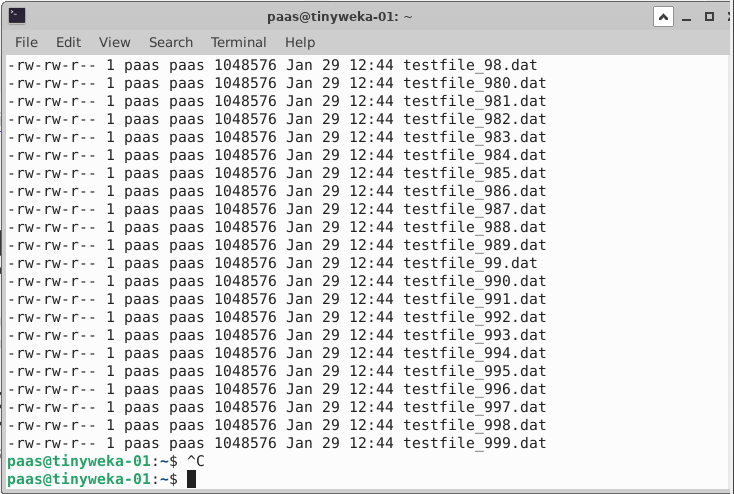
Tip
If you want to count the amount of file, as you don't trust the above info (and we understand) use the command
ls /mnt/wekafs/data/testfile* | wc -land see the number that is shown...
Footnotes
*1 For this to work, we must have an Object store bucket first. This will be discussed later in the lab
*2 WEKA Docs for Data Reduction
*3 WEKA Docs for Encrypted Filesystem
*4 When ON, user authentication is required when mounting to the filesystem. This option is only relevant to a filesystem created in the root organization.
Enabling authentication is not allowed for a filesystem hosting NFS client permissions or SMB shares.
To authenticate during mount, the user must run the weka user login command or use the auth_token_path parameter.